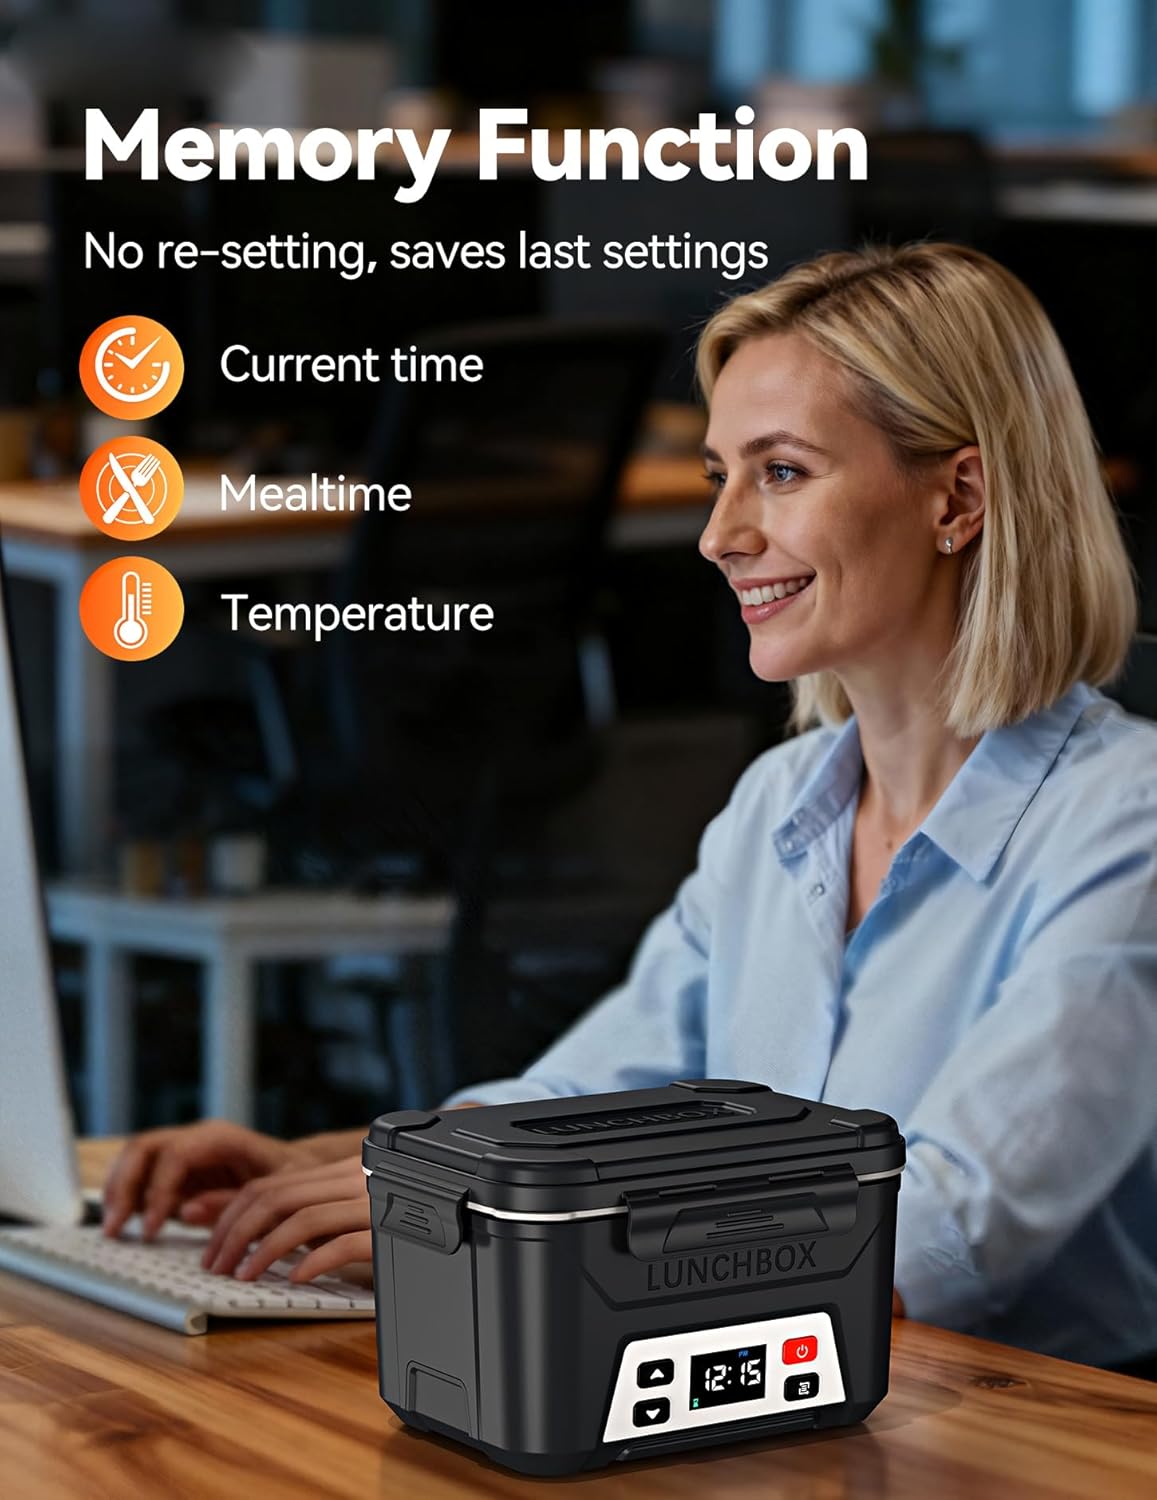
1.Short press the power button.
2.Short press the function selection button, then long press it. (Note: When the small clock icon below is flashing, it indicates that you have entered the current time setting mode.)
3.Use the up or down adjustment buttons: short press for ±1 minute, long press for ±10 minutes.
4.Short press the function selection button again.
1.Short press the power button.
2.Short press the function selection button, then long press it. (Note: When the small countdown timer icon below is flashing, it indicates that you have entered the meal time setting mode.)
3.Use the up or down adjustment buttons: short press for ±1 minute, long press for ±10 minutes.
4.Short press the function selection button again.
1.Short press the power button.
2.Short press the function selection button twice, then long press it. (Note: When the small temperature icon below is flashing, it indicates that you have entered the temperature setting mode.)
3.Use the up or down adjustment buttons: short press for ±1℉, long press for ±10℉.
4.Short press the function selection button again.
1.Short press the power button.
2.Short press the function selection button four times, then long press it.
Heating completes in 2 hours, then automatically switches to keep warm with green indicator.
To exit the immediate heating mode, turn off the device and turn it back on.
1.Short press the power button.
2.Short press the function selection button five times.
To avoid interruption due to low battery, please check the battery level and charge the device the night before use.


From the manufacturer
Current Time Setting
945 Current Time Setting
Meal Time Setting
945 Meal Time Setting
Temperature Setting
945 Temperature Setting
Immediate Heating Mode
945 Immediate Heating Mode
Check Battery Level
Check Battery Level
Quick Tips for Using Your Lunch Box:
1. The top of the lunch box lid has a space for your fork and spoon, with a groove and a snap-on transparent cover. If the cover gets loose or falls off, just snap it back on. 2. The lid will only close properly when the meal container is inside. If you remove the container, the lid won’t close. Always make sure the container is in place before closing the lid.
To Use The Lunch Box's Scheduled Heating Function:
1. Please
first set the current time
to match the actual time, then set the meal time. 2. For first-time use, please
fully charge
the device. Before each use, check the battery level. It should be at l 90%. 3. Please note that the lunch box must be powered on to activate automatic heating.
Important Information About Battery-Powered Lunch Boxes:
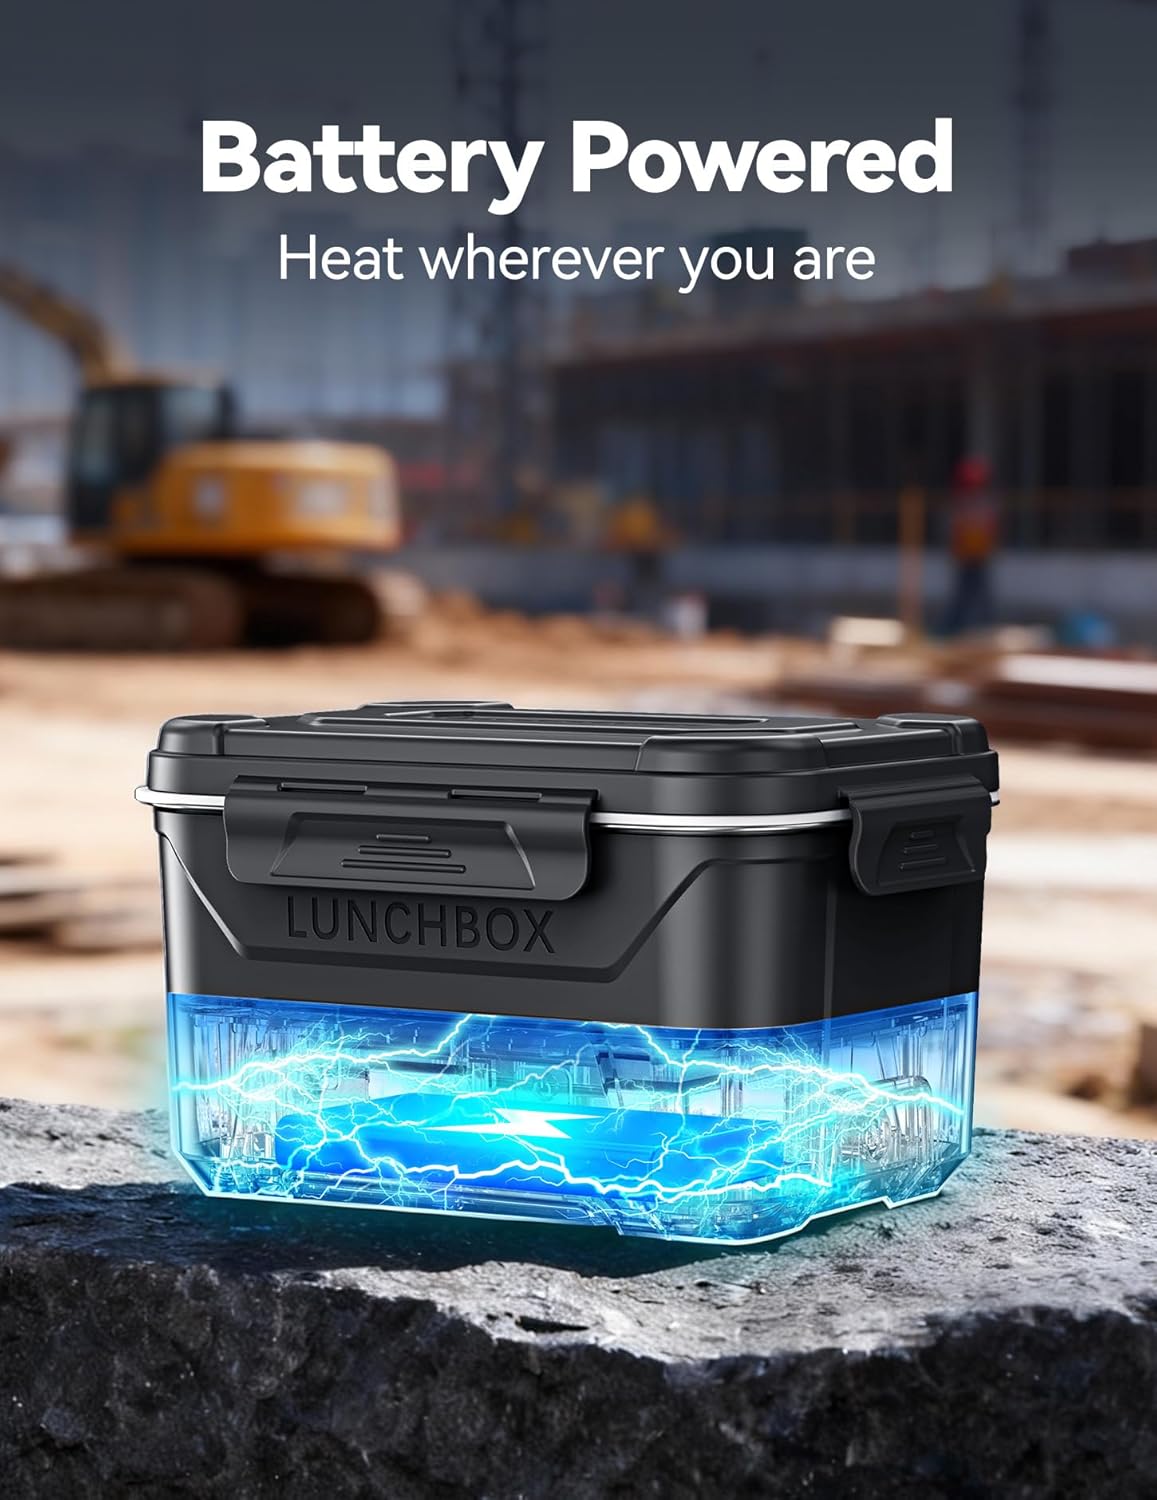
Our portable battery-powered lunch box lets you heat food without plugging in, so you can enjoy warm meals anywhere—at work, on a road trip, or during outdoor adventures. However, the large-capacity rechargeable battery adds extra weight, making the heater weigh 2.8 pounds, slightly more than the typical 2 pounds of standard electric lunch boxes that require plugging in. To Ensure Battery Longevity: 1. Only Use the Original Charger: Other chargers (even if they fit) are not compatible! Using any other charger may permanently damage your product. 2. Only Use the Original Battery: Other battery packs are not compatible.
For Best Heating Results:
1. The display shows the temperature of the heating element, while the actual food temperature is usually lower to avoid overheating, which can cause burns and affect taste. Our lunch box is designed to evenly heat food to the ideal temperature after 2 hours. 2. Foods with higher moisture content heat more effectively. If moisture is low, adding a small amount of water or increasing the set heating temperature (note that this temperature refers to the heating element, not the food itself) can be beneficial. 3. Please consider contact with the container bottom: The device heats from the bottom, so it’s helpful for food or water to be in contact with the container bottom to capture heat. For irregularly shaped foods like chicken legs, adding a bit of sauce or a few drops of water can assist in gathering steam and heating the food more thoroughly. 4. It’s recommended to use the original stainless steel container: For compatibility, please use only the original container. 5. You might want to use an insulated bag: Placing the device in an insulated bag, whether original or otherwise, can help retain heat and improve food warmth.
Caution:
The inner container is made of food-grade 304 stainless steel and contains nickel. Those allergic to nickel should avoid use.
E1: If a device fails to power on, you can force reset the embedded controller (EC) using the following steps:
1. Remove the four screws.2. Pry open the left-side clip.3. Pry open the right-side clip.4. Remove the battery cover.5. Pull out the battery connector.6. Disconnect the battery connector.7. With the screen black, press the power button several times.8. Reassemble.9. Repair complete.
Manufacturer Contact Information
1-833-- (USA) 1-833-327-8625 Mon-Fri: 9:00 am - 5:00 pm PST/PDT
Product Description